
Creamed Honey Recipe – How You Can Make Perfectly Smooth, Spreadable Honey at Home
emotionally resonant opening
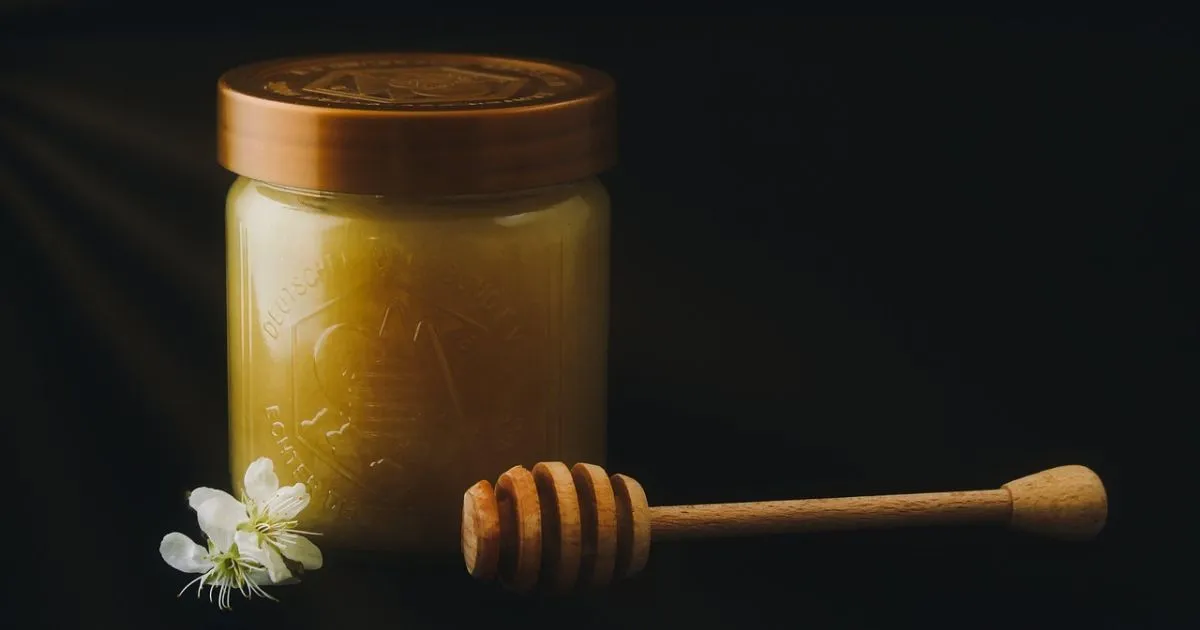
There’s a quiet kind of joy in simple foods done well. When you twist open a jar of softly set honey and glide a knife through its velvety surface, you feel the difference immediately. It doesn’t drip. It doesn’t run. It spreads like butter across warm toast and melts gently into every bite.
If you’ve ever wanted to recreate that silky texture in your own kitchen, you absolutely can. With patience, the right technique, and a little understanding of how honey behaves, you’ll transform ordinary liquid honey into a smooth, luxurious spread that feels artisan-made. This guide will show you exactly how to do it — step by step — so you get consistent results every time.
Table of Contents
What Is Creamed Honey?
Despite its name, there’s no dairy involved. Creamed honey is simply honey that has been intentionally crystallized in a controlled way. Instead of forming large, gritty crystals like honey sometimes does naturally, you guide the process so the crystals stay tiny and uniform.
The result?
- A smooth, spreadable texture
- A lighter, opaque appearance
- No dripping or stickiness
- A clean, melt-in-your-mouth feel
You may also hear it called whipped honey or spun honey. Regardless of the name, the magic lies in managing crystallization rather than fighting it.
Why You Should Make It Yourself
When you make it at home, you control every detail — from the honey source to the final texture.
Here’s why it’s worth your time:
- You avoid additives. Some commercial versions contain stabilizers. Yours won’t.
- You choose quality. Raw, local honey produces better flavor.
- You save money. Store-bought jars often cost significantly more.
- You customize flavor. Cinnamon, vanilla, or citrus? It’s your call.
- You learn a traditional technique. This method has been used by beekeepers for generations.
When you understand how the process works, you stop seeing crystallization as a flaw and start seeing it as a tool.
Ingredients for a Perfect Creamed Honey Recipe
The beauty of this recipe lies in its simplicity. You only need two ingredients.
Base Formula
| Ingredient | Quantity | Purpose |
|---|---|---|
| Raw liquid honey | 2 cups | Main base |
| Starter (seed) honey | 2 tablespoons | Controls crystal formation |
Why the Starter Matters
The starter honey already contains very fine crystals. When you mix it into liquid honey, those tiny crystals act like a template. Instead of forming large, coarse crystals, the honey copies the fine pattern.
Ideal ratio: 1 part starter to 10 parts liquid honey.
If you skip this step, your honey may crystallize unevenly and turn grainy.
Equipment You’ll Need
You don’t need professional tools, but a few basics will help you get smooth results.
- Mixing bowl
- Silicone spatula or wooden spoon
- Hand mixer (optional, for faster blending)
- Clean glass jars with lids
- Thermometer (helpful but not mandatory)
Temperature plays a big role in texture. Aim for a stable room temperature between 57–64°F (14–18°C) during crystallization.
Step-by-Step Creamed Honey Recipe
Now let’s move from theory to action. Follow these steps carefully and you’ll create a beautifully smooth jar every time.

Step 1 – Prepare Your Honey
If your raw honey has already crystallized, gently warm it until fully liquid.
Important guidelines:
- Use a warm water bath
- Keep temperature below 95°F (35°C)
- Avoid microwaving
Overheating destroys enzymes and affects flavor. Slow and gentle is the goal.
Step 2 – Add the Starter Honey
Measure your starter honey and add it to the liquid honey.
Stir slowly but thoroughly. You want even distribution without incorporating too much air. Air bubbles can affect texture and appearance.
At this stage, the mixture will still look liquid — that’s completely normal.
Step 3 – Mix or Whip
You have two options:
Option 1: Traditional Method
- Stir once daily for 3–5 days.
- Keep temperature stable.
Option 2: Whipped Method
- Use a hand mixer for 10–15 minutes initially.
- This speeds up crystal formation and produces a lighter texture.
Both approaches work. Whipping simply introduces tiny air pockets, giving a fluffier finish.
Step 4 – Controlled Storage
Pour the mixture into clean glass jars.
Store them in a cool place (57–64°F). Avoid the refrigerator during the setting phase, as it can cause uneven crystallization.
Within 3–7 days, you’ll notice the texture thickening. The color will become lighter and more opaque.
Step 5 – Check the Texture
After about a week, test it with a spoon.
You’re looking for:
- Smooth consistency
- No visible crystals
- Easy spreading
- Soft peaks when stirred
Once set, you can store it slightly cooler to maintain texture.
Flavor Variations You Can Try
Once you master the base method, you can experiment confidently.
Add dry ingredients only — moisture can cause fermentation.
Popular Add-Ins
- Cinnamon powder
- Vanilla bean seeds
- Freeze-dried strawberry powder
- Lemon zest (dried)
- Cocoa powder
Add flavorings after mixing in the starter but before pouring into jars. Stir thoroughly to distribute evenly.
Troubleshooting Common Problems
Even small temperature shifts can change your results. Here’s how to fix common issues.
Why Did It Turn Grainy?
Possible causes:
- Not enough starter honey
- Temperature fluctuations
- Incomplete mixing
Fix: Gently reheat until liquid and restart the process with more starter.
Why Is It Separating?
Separation usually happens if stored too warm.
Solution:
- Stir thoroughly
- Reset in cooler conditions
Why Didn’t It Set?
Honey types high in fructose crystallize slower.
If it remains liquid after 7–10 days:
- Add slightly more starter
- Ensure room temperature is cool enough
Storage Tips and Shelf Life
Honey is naturally antimicrobial, which gives it an impressive shelf life.
To keep it smooth:
- Store in airtight glass jars
- Keep away from sunlight
- Maintain cool, consistent temperature
Properly stored, it can last over a year without spoiling.
If it becomes too firm over time, allow it to sit at room temperature briefly before using.
Nutritional Overview
Here’s what you’re getting in one tablespoon:
| Nutrient | Approximate Amount |
|---|---|
| Calories | 60–65 |
| Carbohydrates | 17g |
| Sugars | 16g |
| Fat | 0g |
| Protein | 0g |
While it’s still sugar, honey contains trace antioxidants and small amounts of beneficial compounds not found in refined sugar.
Used in moderation, it’s a flavorful alternative to processed sweeteners.
Best Ways to Use It
Once you make a batch, you’ll find countless ways to enjoy it.
Everyday Uses
- Spread on toast, croissants, or bagels
- Stir into oatmeal or yogurt
- Pair with cheese boards
- Sweeten tea or coffee
- Use as a filling in pastries
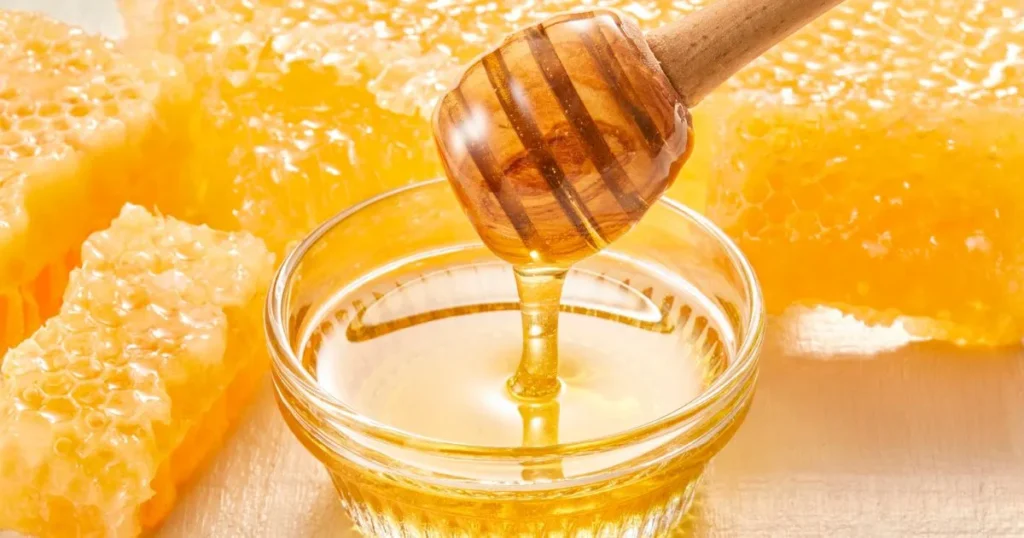
Because it doesn’t drip, it’s ideal for sandwiches and baking applications where liquid honey would be messy.
Frequently Asked Questions About Creamed Honey
What makes creamed honey different from regular honey?
The difference lies in controlled crystallization. Regular honey crystallizes randomly, forming large crystals. Creamed honey uses a starter to create a uniform, smooth texture.
Can you make creamed honey without starter honey?
Technically yes, but the texture will be unpredictable. The starter ensures fine crystal structure.
How long does creamed honey take to set?
Most batches set within 3–7 days under proper temperature conditions.
Does creamed honey need refrigeration?
No. Cool room temperature works best. Refrigeration can disrupt crystal formation.
Is creamed honey healthier than liquid honey?
Nutritionally, they are identical. The difference is texture, not composition.
Final Thoughts: Why You Should Try It Today
When you learn how to control crystallization, you gain a skill that feels both traditional and empowering. You’re no longer at the mercy of random texture changes. Instead, you guide honey into exactly the form you prefer.
The process is simple:
- Two ingredients
- A stable temperature
- A little patience
That’s it.
Now it’s your turn. Choose high-quality raw honey, set aside a few days, and try this method yourself. Once you spread your homemade batch onto warm bread and taste the difference, you’ll understand why so many people never go back to store-bought versions.
If you found this guide helpful, share it with someone who loves natural, homemade foods. And when you make your first jar, experiment with flavors and make it your own. Your kitchen, your rules — and your perfectly smooth honey waiting on the shelf.